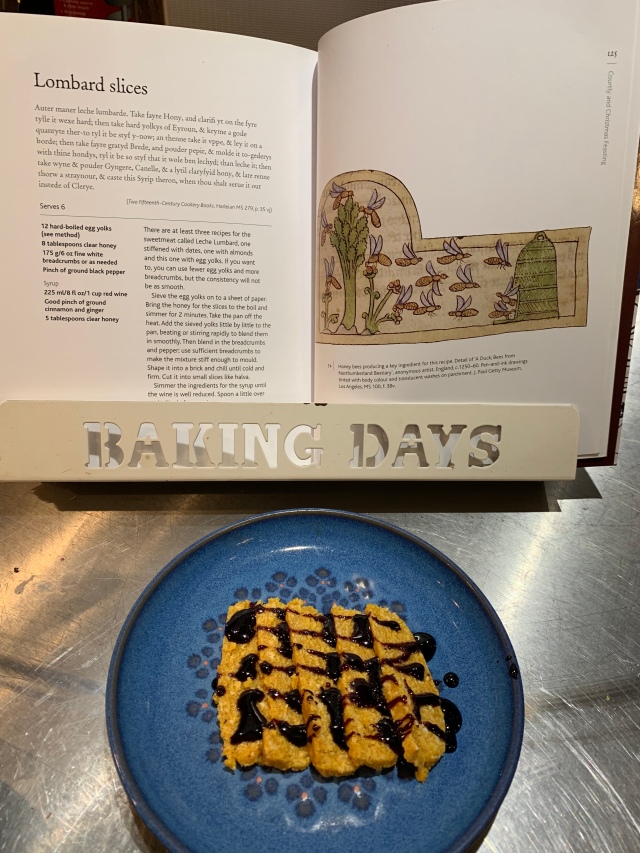
I decided to try an ancient dish for my next attempt at historical cooking. The Roman sacrificial cake Libum proved a perfect choice as it corresponds to my A2 Classical Civilisation topic of religion! This simple cake was used as an offering, often by slaves or the lower classes, to household spirits or gods in Rome’s early history. The text below comes directly from the Roman consul Cato’s agricultural writings in which he includes simple recipes for farmers, including Libum.
‘Libum hoc modo facito. Casei P. II bene disterat in mortario. Ubi bene distriverit, farinae siligineae libram aut, si voles tenerius esse, selibram similaginis eodem indito permiscetoque cum caseo bene. Ovum unum addito et una permisceto bene. Inde panem facito, folia subdito, in foco caldo sub testu coquito leniter.’
– translation: ‘Make libum by this method. Break up two pounds of cheese well in a mortar. When they will have been well broken up, put in a pound of wheat flour or, if you wish it to be more delicate, half a pound of fine flour and mix it well together with the cheese. Add one egg and mix together well. Then make into bread, places leaves beneath, and cook slowly on a hot hearth under an earthen pot.’
(sourced from: https://www.romanobritain.org/2-arl_food/arl_roman_recipes-libum.php)
Ingredients (serves 4)
125g ricotta cheese (Italian of course!)
125g plain flour
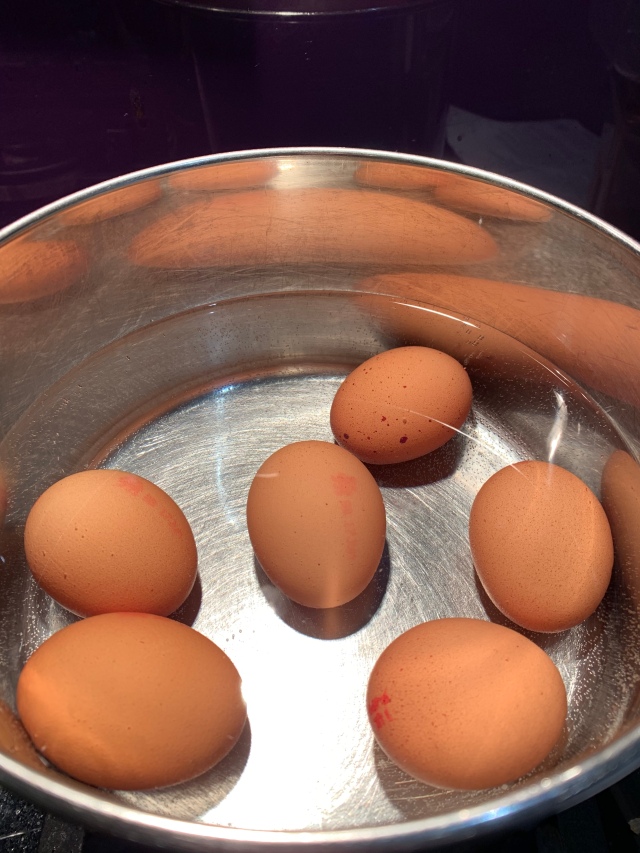
1 egg
4 bay leaves
200g honey
Method


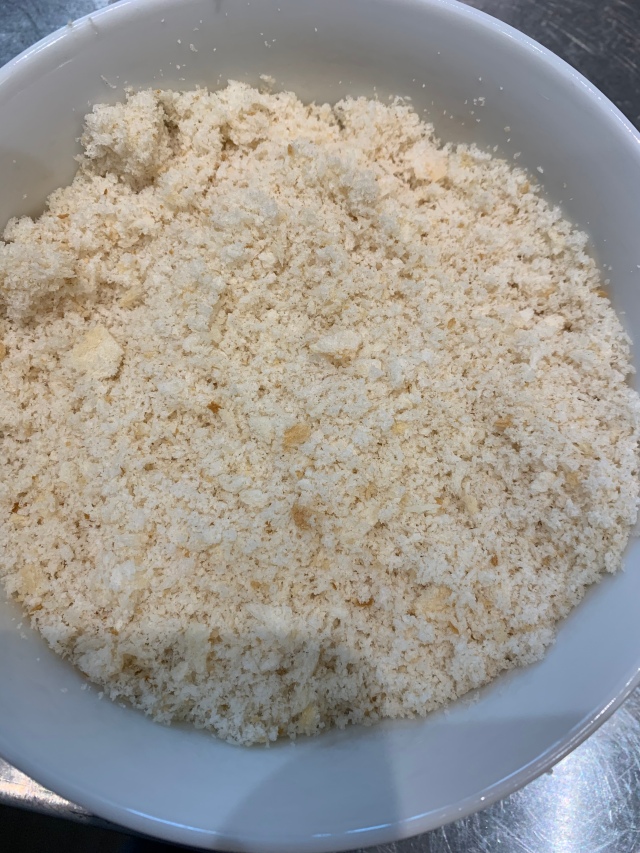
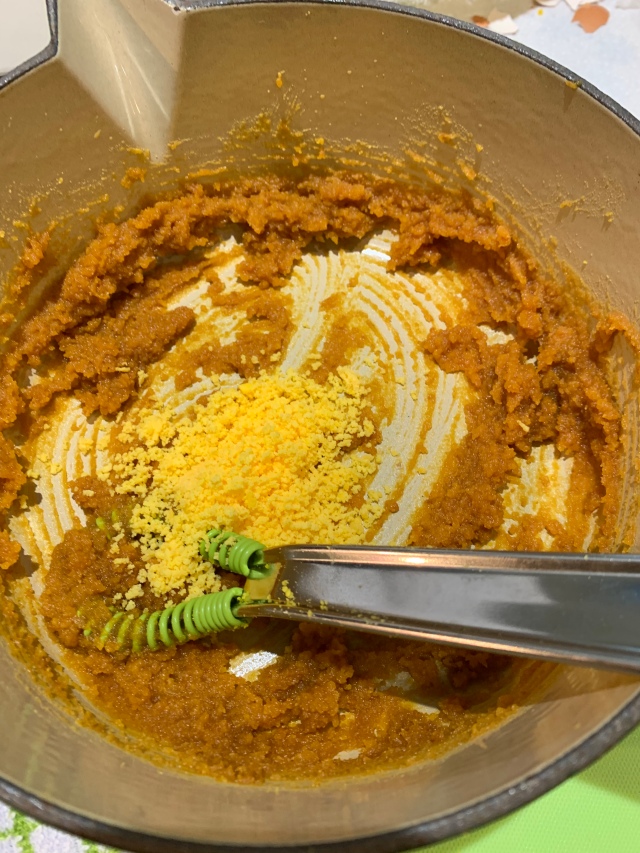
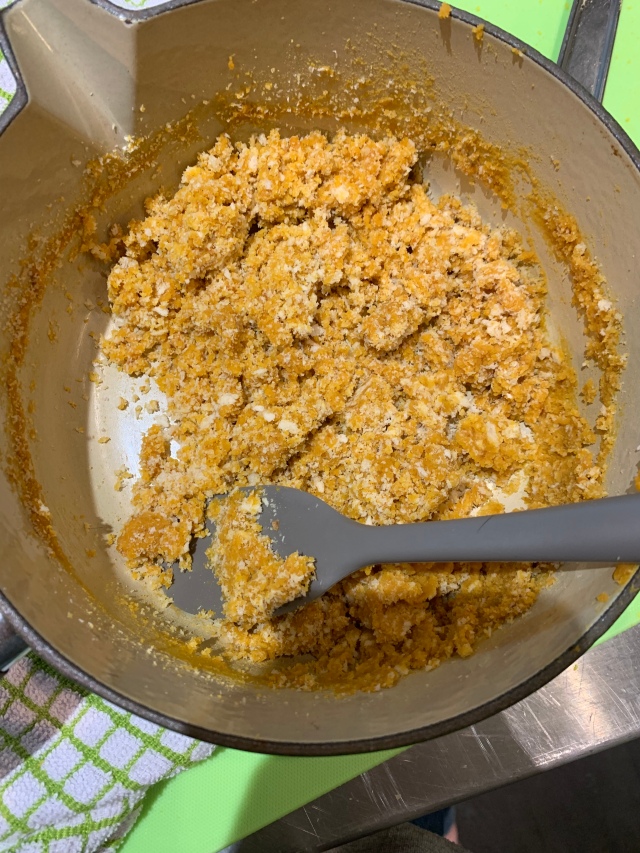
Preheat oven to 190 degrees celsius. Cream the ricotta in a bowl till smooth and sift in the flower, stirring together to a breadcrumb like consistency.

")
Beat an egg together and mix it into the ricotta and flour mixture, forming a sticky dough ball.
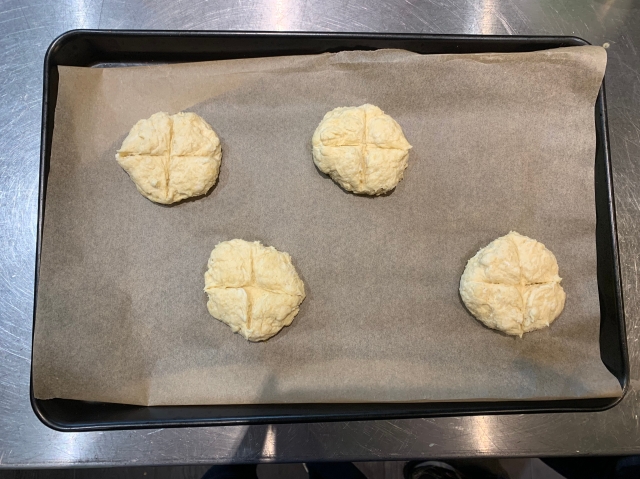
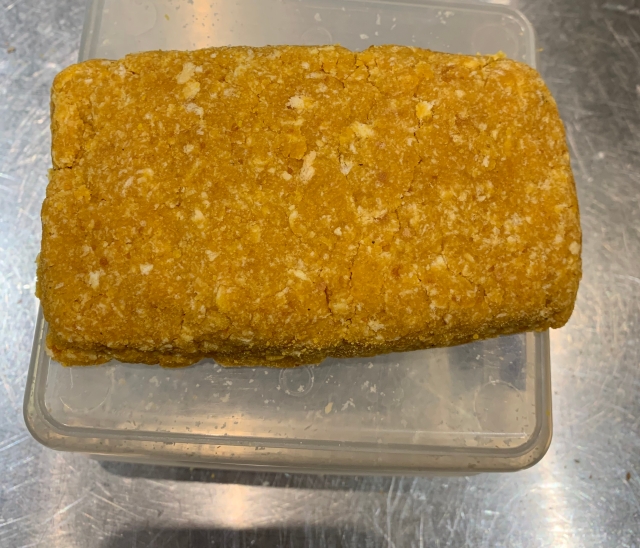
Separate the mixture into four, shape into flat balls and place on top of bay leaves. Score the top for decoration if desired.
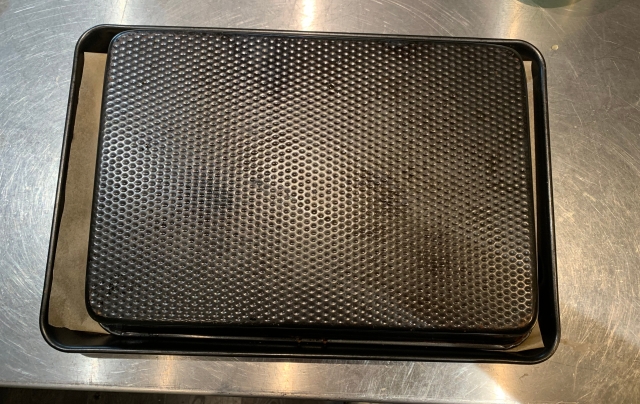


To replicate the Roman technique of cooking in terracotta pots, cover the baking tray with a shallow pan and cook in the oven for 35-40 minutes.
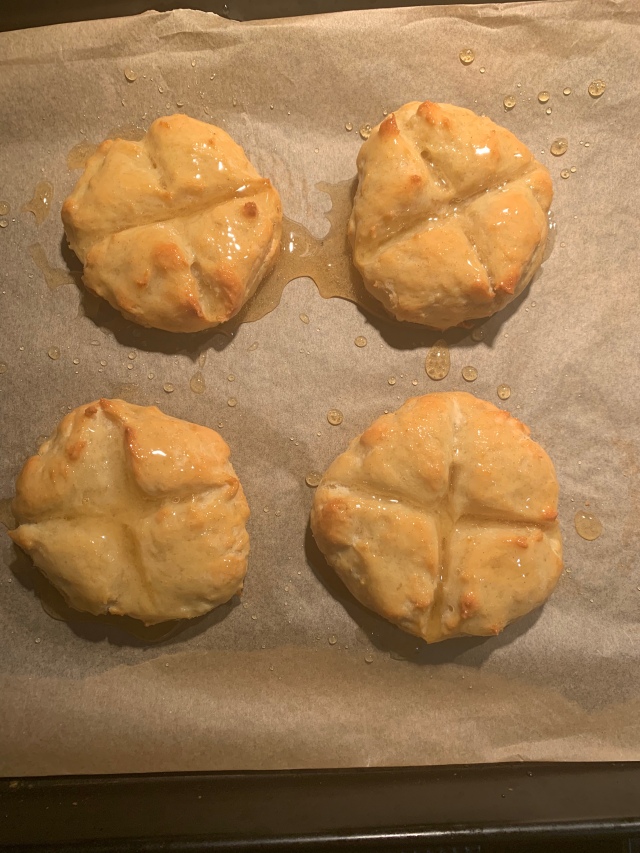
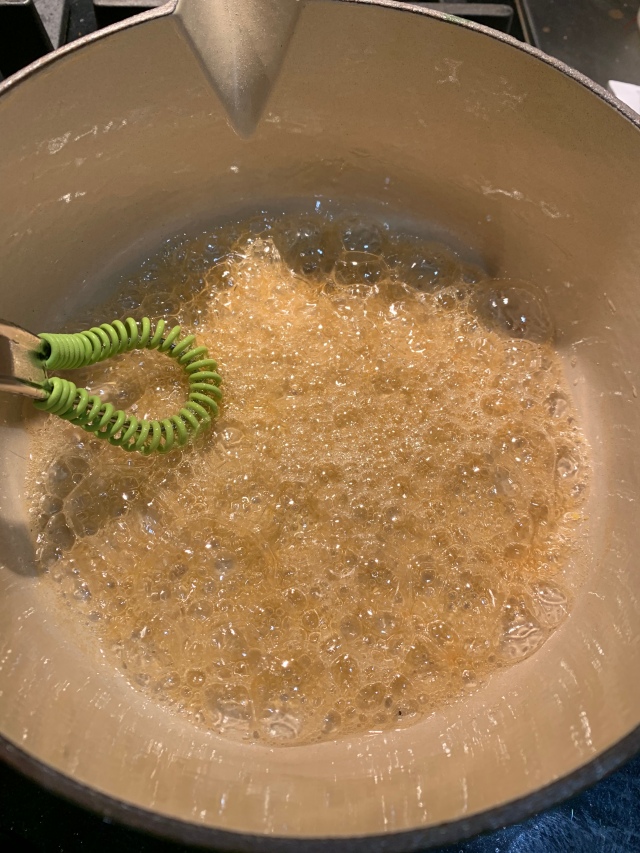
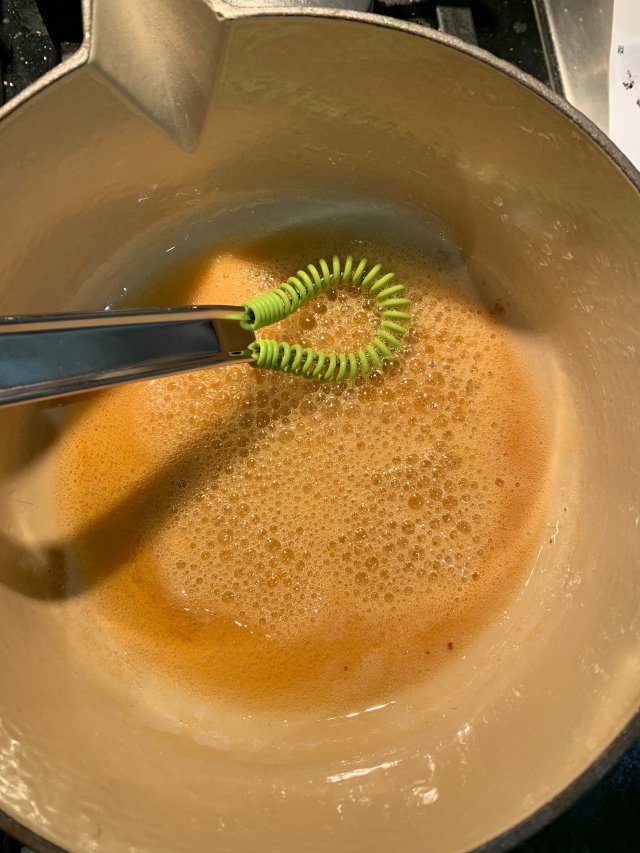
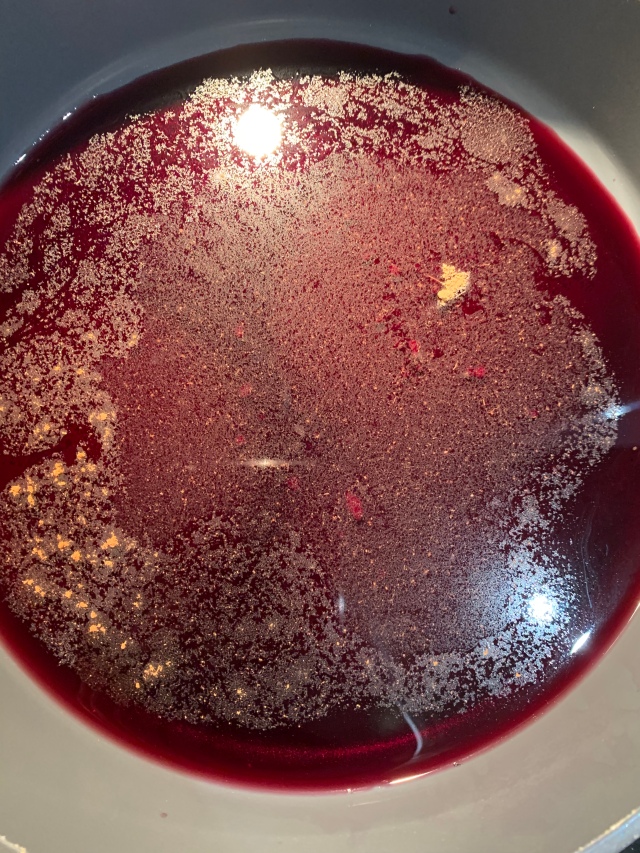
Whilst still hot, melt the honey in a pan and cover the libums so they absorb the liquid.
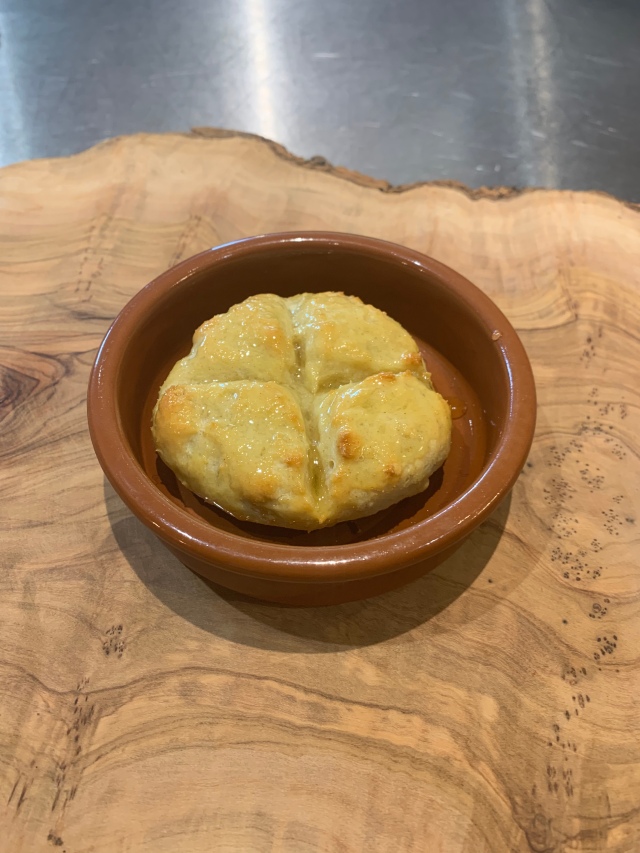
Dedicate to your favourite god (I choose Venus) and enjoy, remembering to remove the bay leaf!
This is a very simple and quick recipe to make. Its very enjoyable to make it following the ancient recipe, but understandably it is suited to Roman lower class taste buds. It is very bland, although the texture is pleasant – resembling an unleavened scone. Adding a pinch of salt to the mixture would not be historically inaccurate, but it tastes better when served with jam – Cato wouldn’t approve I’m sure!
Rating:5/10